
How to Make Your Own Punching Bag
There are so many reasons why a punching bag is a great addition to your routine. For starters, it is a great way to burn some calories and get a workout in at the end of a long day. It is also a great way to let out some aggression or stress in a healthy manner. The best news is that a punching bag is relatively easy and affordable to make so there is no need to buy an expensive store-bought bag. Let’s take a look at how to make your own punching bag using foam.
Items Needed:
- Punching bag shell
- Desired material
- Leather or material punch
- Eyelets
- Heavy-duty cord or chain
- Shredded foam for outer filler
- Filler material such as sand for added weight
Step 1: Prepare bag
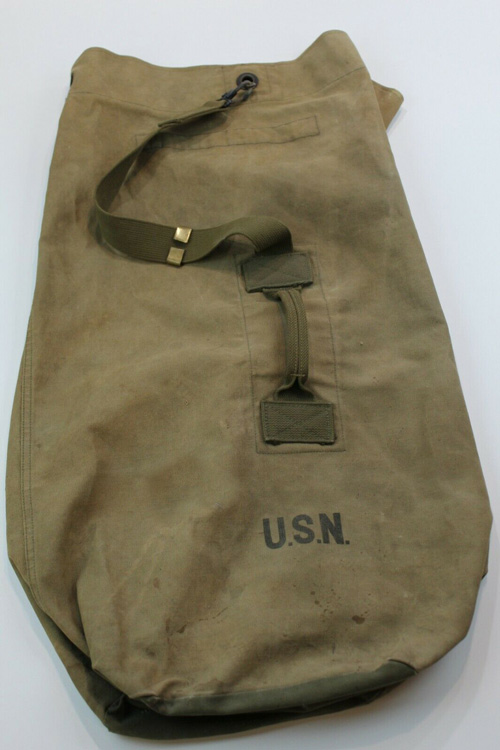
Once you have assembled all the necessary items, you are ready to get started on this fun and easy project. When it comes to how to make your own punching bag, preparing the shell or bag itself is the first step. Most people use an old duffle bag as their shell for the punching bag, but you can also sew one yourself if you are familiar with sewing. If you are using an old bag, you will need to prepare it by removing any hardware such as metal materials, zippers, or straps. If you are keeping the zipper as the place where you can adjust the filling inside as needed, you will want to make sure the zipper is covered in a bit of extra material and some Velcro to avoid punching it with your hand later.
Step 2: Punch holes and set up eyelets
Once you have removed any metal hardware from the bag, you can start creating the necessary elements needed to hang the bag. You will need to punch four holes around one end of the bag that will be the top of the bag. Make sure you place the holes at equal distances from each other so the bag hangs evenly when you secure it later. Once you have the holes punched through the fabric using the fabric or leather punch, you will need to install the eyelets. The eyelets will prevent the material of the shell from tearing or splitting over time so you get more use from the bag. These holes are key to supporting the bag when you hang it so you need to make every effort to keep them strong.
Step 3: Install the chain or cord
Once you have the eyelets placed, you can insert the chain or heavy-duty cord through the eyelets. You will need to feed it through and place a second chain or cord on the opposite two eyelets. Make sure the chain or cord is strong enough to hold the completed bag once you add the filler. You also want to make sure the chain or cord is of equal length on both sides of the bag to avoid it tilting to one side and causing more wear and tear on one end. You should also make sure to fasten the chain or cord on the inside of the bag using fasteners or staples for added reinforcement.
Step 4: Reinforce the chain/cord and connect
Next, you will further reinforce the chain or cord by placing a piece of leather or thick canvas over the eyelets from the interior of the bag. You want to use at least 2-3 inches of material, enough to adequately cover the eyelets and then stitch it into place. This little pocket of material will provide extra support to the eyelets and chain/cord so the bag is better supported when hanging.
Step 5: Connect the cord or chains
Once you have secured the chain/cord and reinforced it, you will need to connect the ends of the chain or cord. You want to make sure the chain or cord is strong enough to withstand the weight of the filling and the force of the punches so the bag doesn’t come down on you later and cause injury or damage. Since you will be hanging this type of bag from a beam ideally, this can help add support. Once you connect the cords or chains, you can hang the bag and then start filling it.
Step 6: Fill the bag
The next step is to fill the bag. You want to add a little weight to the bag so it has less give when you punch it so adding a sand filler at the bottom is a good idea. Once you have weighted the bottom with sand, you can add the foam. You will want to use either foam sheets you roll and place in the center until the whole bag is full or you can use shredded foam making sure to pack it in tightly to fill the entirety of the bag. You can also do a bit of both to get the right feel for your preferences.
Step 7: Close the bag
The next step is to close up the bag to avoid any issues. You can either zip it shut if the bag already has a zipper or you can sew the top shut near the eyelets.
Step 8: Consider the target zone
You now have a punching bag fully assembled and hanging from a beam. All you need now is to create a target zone. The target zone is where you want to get the majority of your punches in so you’ll want to give it some extra padding. Once you have given the bag a few practice punches, you can easily determine the right target zone on the bag. Once you find this spot, you should add a layer of foam sheeting there and secure it with duct tape on all four sides. This will help you with form and protect your bag from taking too much impact concentrated in one area.
This is one of the easier foam DIY projects to undertake and it comes with lots of unique benefits. Try this fun DIY task out for yourself and get some punches in after a long day.
Posted in DIY
Leave a Reply