
How to Reupholster a Chair
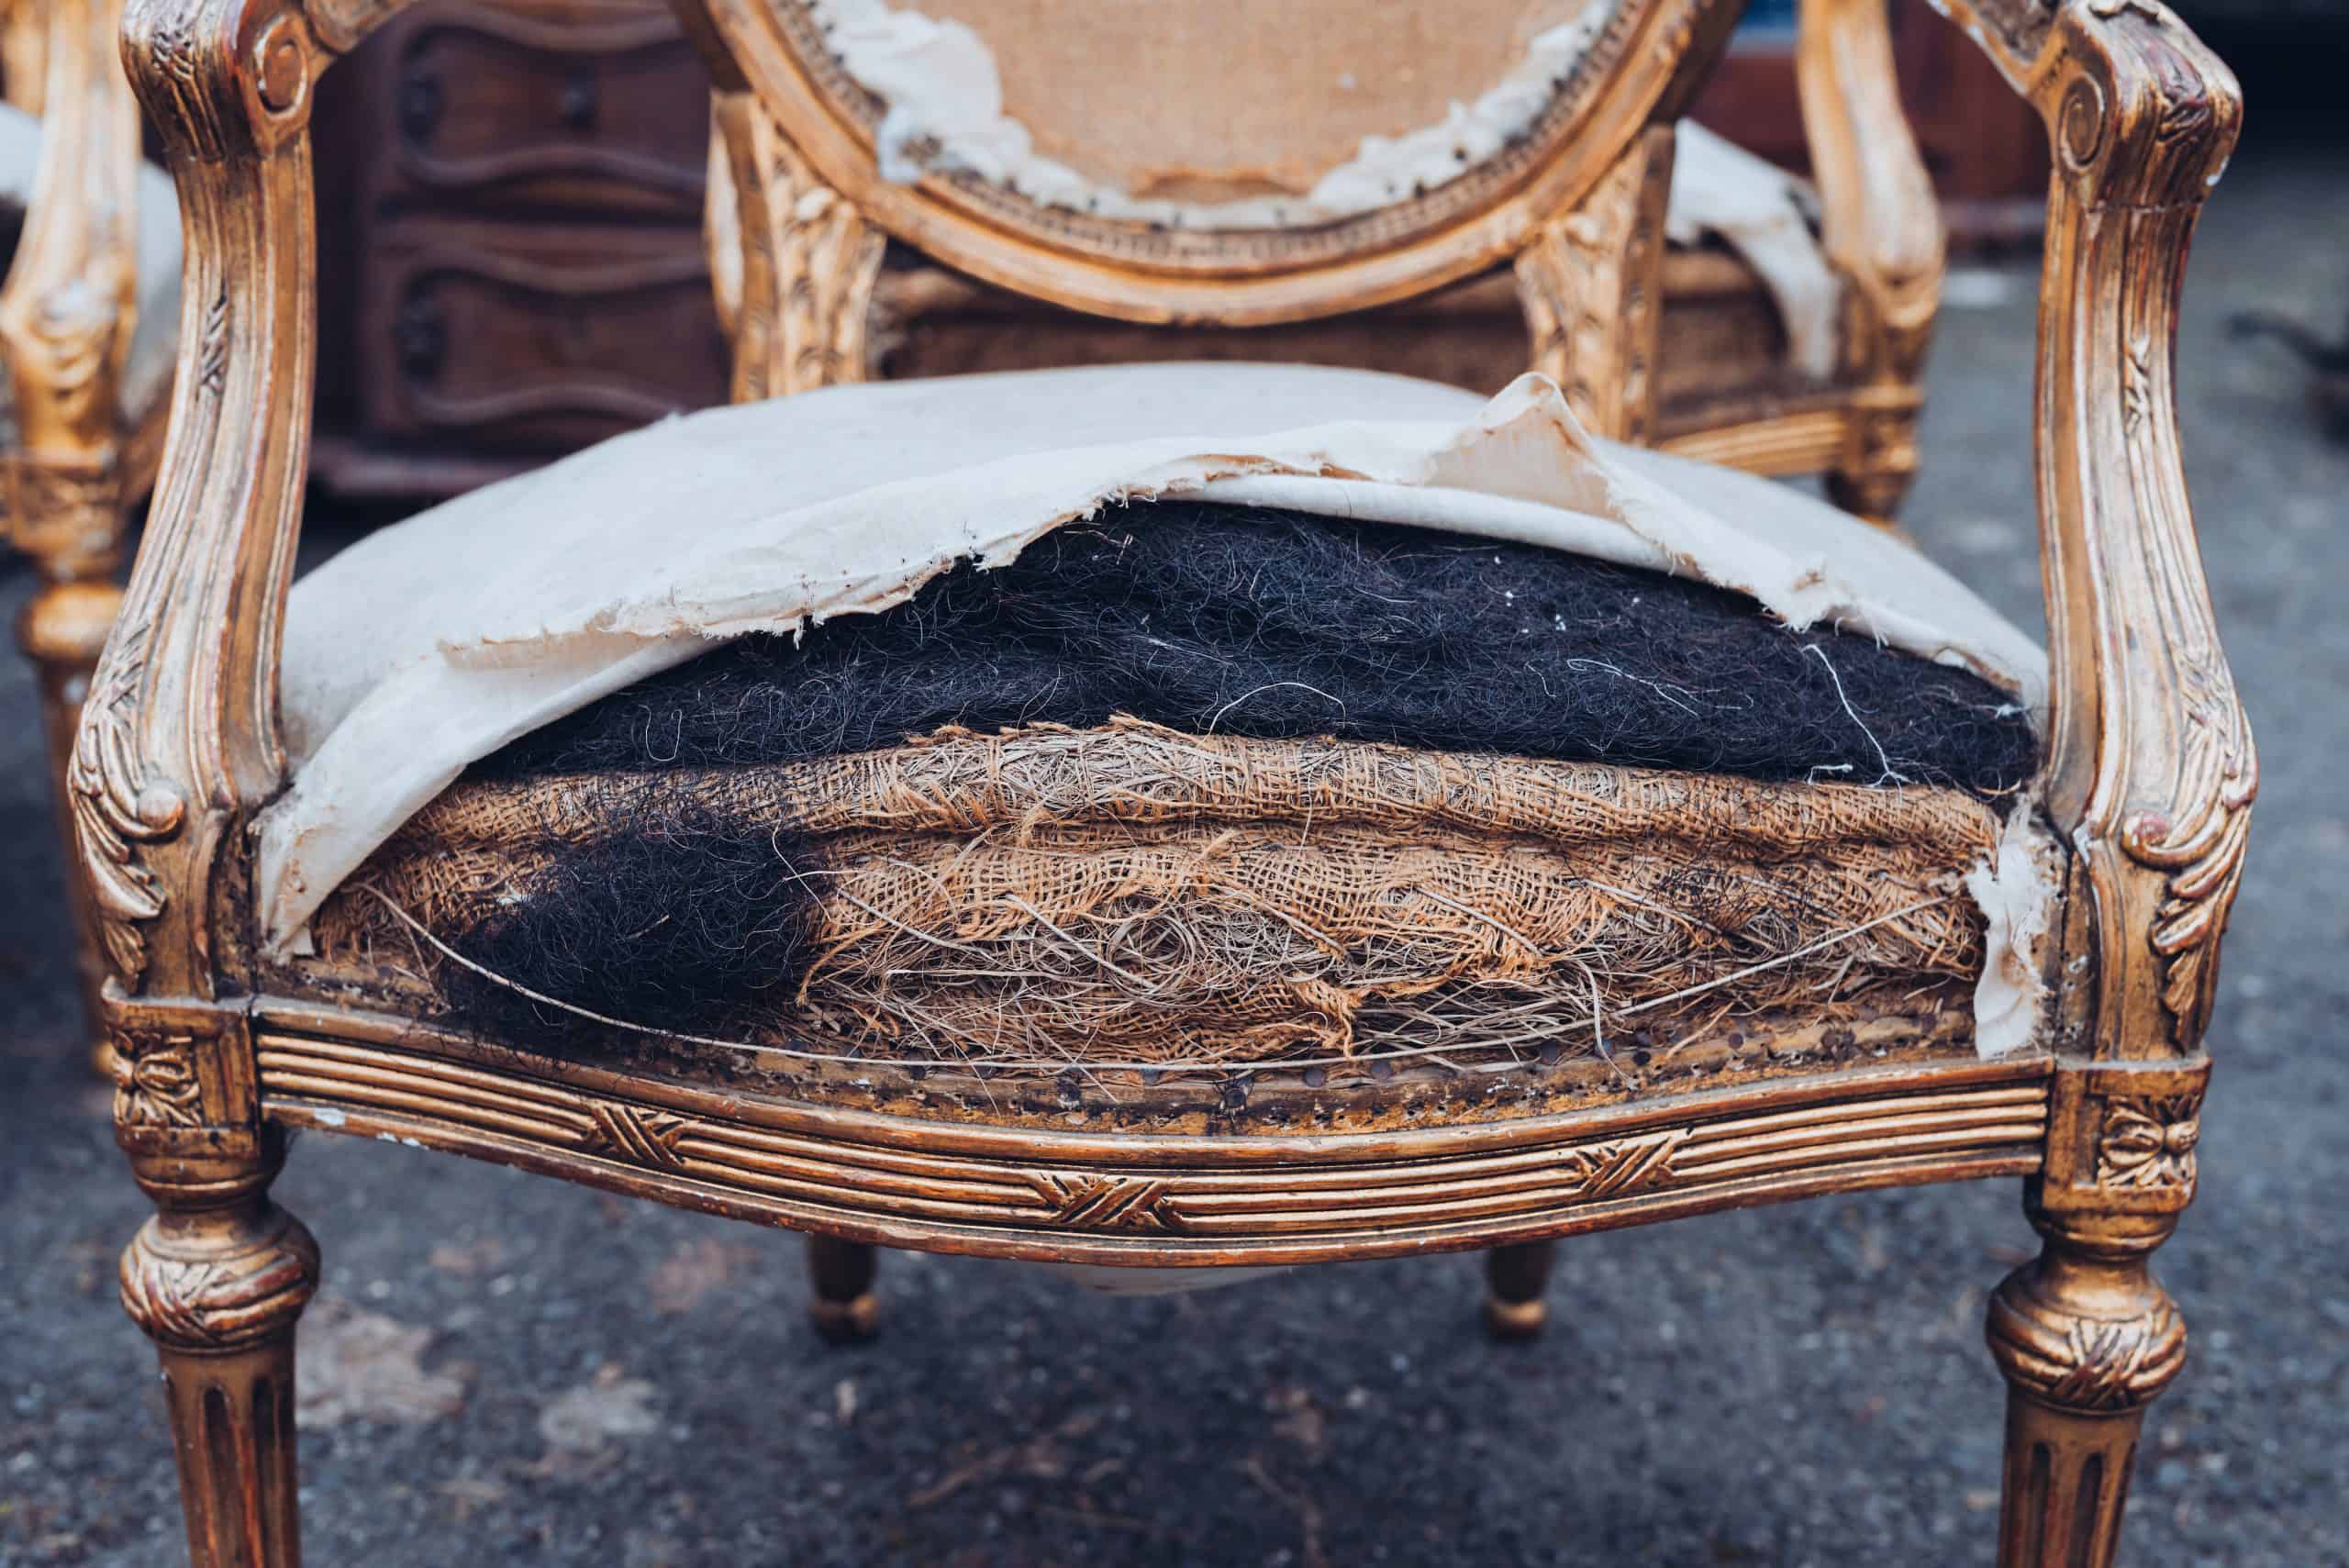
Have you ever wanted to replace the old, flattened cushions in your favorite chair? Whether it’s a family heirloom or just looking worn, you can always start a DIY project to refresh the look! Thanks to our in-depth resources and exceptional quality foam cushions, it’s easy to breathe new life into your favorite furniture. In the past, we’ve taught you the ins and outs of DIY cushion making through various How-To’s, so you’re already part of the way there!
One thing that can help with a new furniture DIY is knowing how to reupholster a chair! We’re here to help you from start to finish with excellent tips, tricks, and instructions. It’s never been easier to DIY a beautiful piece of furniture.
Where to Start
The first thing you want to do is gather the needed supplies. If the old cushion is not torn up, you can use it as a guide for your new pattern pieces. Before working with the new materials, you will want to remove the old fabric, and measure the base plywood. This measurement is what will help you figure out what the foam size will need to be. Keep in mind that the foam should be about ½” larger than the base on all sides. This prevents the wood from protruding on the upholstered chair. Once you have the measurements for the foam, you can determine how much fabric you will need. Remember, it is important to err on the side of caution and buy more material than you think you need.
Required Items:
Tools:
- Needle-nose pliers
- Notepad and pencil
- Pen or Sharpie to mark the foam
- Scissors
- Staple gun
- Straight pins
- Sewing machine
- Flathead screwdriver
Materials:
- 3/8″ or 5/16 staples
- 1” thick Dacron fiberfill
- Upholstery fabric of choice (Required amount varies depending on chair size)
- Polyester welt cord cellulose piping
- Upholstery grade thread
- Tack strips
- Black, breathable fabric for underside of chair (Cambric)
DIY Instructions:
Step One:
Take a picture of the chair before starting. You can use pictures as a reference to help you reupholster.
Begin to disassemble the chair and remove the upholstery fabric. Do your best not to tear any old pieces; you may need them to create new ones. Remove the black Cambric cloth from the underside of the chair, and loosen the pieces that have been attached to the chair frame. With your Sharpie, mark the location of each old piece on the chair to avoid confusion when replacing; for example, label fabric as ‘outside back,’ ‘rightside back,’ etc.
You may notice that the pieces contain welting and tack strips. If possible, note the location of welting and where the pieces are sewn together. Preserve the welting and tack strips to measure the new pieces.
Step Two:
You will likely want to remove old batting from the chair or seat. This is also the optimal time to sand, prime, or paint the frame or legs of your chair if you want—then let them dry.
If you are replacing the Dacron, you will want to cut a piece to cover the foam. Cover the chair back first, then begin stapling it down. You can prevent the staples from causing visible indents by lightly pulling and hiding them inside the batting. For the seat, cover it in Dacron in the same manner.
Step Three:
Lay your original fabric, with the side you do not want visible, facing up. Next, lay the new fabric down with the same side facing up, ensuring that the grain or pattern is the direction you want. Pin the fabric in place and cut around the pattern. Make sure to leave at least 2-3 inches of fabric from the original pieces. This gives you something to grasp when you begin stapling the new fabric. Repeat this process for each piece and transfer the markings for direction, welting, and seams on to your new pattern with chalk.
Step Four:
Place your new marked pieces on the chair in the appropriate locations. Pin your pieces together and make any adjustments to the fit if needed. You might need to trim some excess to make it fit snugly. Once you are pleased with the fit, pull the fabric taut and begin to staple it in place on the apron of the chair. Use as many staples as needed to secure your new upholstery fabric and keep it smooth. To keep your staples hidden, place them on the chair back where they will be covered by the back panel of fabric. Trim any excess material when you have finished a section.
Step Five:
Prepare to add welting. Use your old welting pieces as your guide. Find the length of welting needed to go around the seat apron and the top and bottom of the upholstered seat. Cut 2-inch wide fabric bias strips to the welt length, but allow a few extra inches. Join the strips with diagonal seams, and trim the seam with roughly a ½” allowance. Fold your bias strip around the cord and use a zipper foot to sew in place. The welting will go around the bottom of the seat apron.
Step Six:
Sew the welting. Pin your side panel to the seat fabric and make any needed adjustments to the pattern. Mark the position for the bottom welting. Remove the side fabric from the chair and sew the welting to the right side of the panel, at the top where marked near the bottom, starting and ending at the back. If you’d like a finished edge, fold the end of the piping under before you attach it.
Step Seven:
Attach the sides. Hold the right side of the panel up against the seat, and begin stapling the top welting into place around the seam. Add a tack strip around the panel top against welting; staple in place. Fold the side panels over your tack strip. Make sure to pull tight. Staple in place on the underside of the chair with your welting fitting as snugly as possible along the edge. Feel free to snip fabric notches underneath the seat so that you can smooth everything around the corners. Use your flathead screwdriver to tuck any excess upholstery underneath.
Step Eight:
Attach the back. Place your chair’s back panel into position and fold the right side over the top of your chair back. Apply a tack strip to the top of the back rear and begin to staple in place. Next, fold the panel back over the strip and pull it tight toward the bottom of our chair. Fold your bottom edge under, and begin to staple to the underside of your chair. If you have any raw edges, use your flathead to tuck them away. Reassemble your chair after trimming any additional excess materials.
Last Step:
Cut your piece of black Cambric fabric to fit the underside of your chair using the old piece for your guide. Turn your chair upside down and staple the black fabric to the underside. This will conceal any springs or webbing. It will also act as a dust cover. Make sure the new fabric is tight against the welting and covers any raw edges.
That’s it! Turn your chair right-side-up, and enjoy your reupholstered chair as if it was brand new! Of course, any foam you need for your DIY project can be purchased from us directly at Foambymail.com!
Leave a Reply